
Homemade Pasta with Porcini Mushrooms
Pasta and Pizza | Italian cuisine
⏳ Time
40 minutes
🥕 Ingredients
10
🍽️ Servings
5
Description
Recipe by John Smith, chef at a local American restaurant.
Ingredients
- Semolina - 6.2 oz
- Wheat Flour - 2.2 oz
- Olive Oil - 1 fl oz
- Chicken Egg - 3 pieces
- Whole egg - 2 pieces
- Salt - 1½ g
- Dried Chinese mushrooms - 0.5 oz
- Cream - 1 fl oz
- Grated Pecorino Pepato Cheese - 1 tablespoon
- Scallions - to taste
Step by Step guide
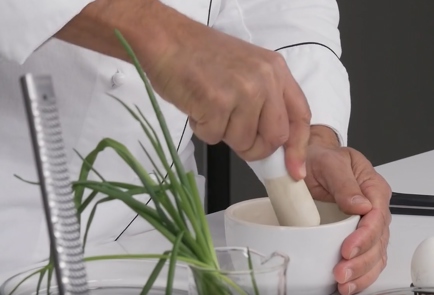
Step 1
Grind the dried mushrooms (5 g) using a blender or crush them in a mortar until powdered.
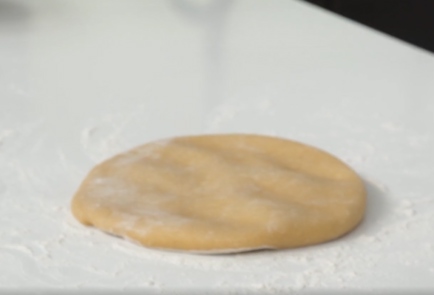
Step 10
Dust the countertop and rolling pin with flour, and first flatten the dough into a disc with your hands, also dusting it with flour, then start rolling it out.
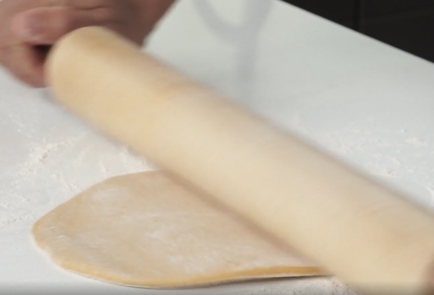
Step 11
Roll out the dough in the following way: first into a very thin pancake, then fold the edges towards the center, reshape the dough into a ball, and roll it out thinly again. You need to repeat this process about ten times; each time the dough will become firmer, but this is the only way to eliminate all excess air from the dough, ensuring that the pasta turns out smooth and elastic.
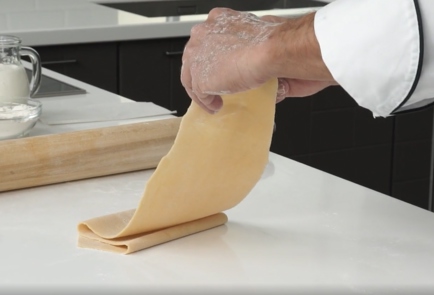
Step 12
For the final, tenth time, roll out the dough into a large thin rectangle, cut it in half, and roll each half to a thickness of 1–2 mm.
Step 13
Dust the finished sheet of dough with flour on both sides, then fold it like an accordion with a 7–10 cm spacing.
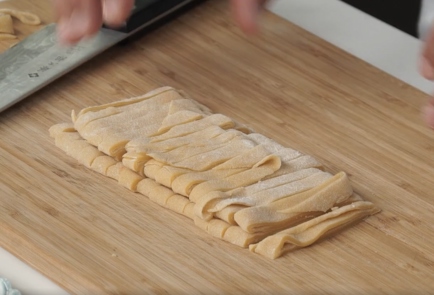
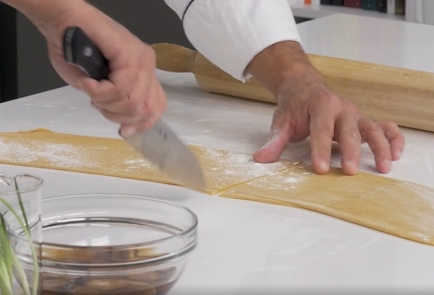
Step 14
Trim the edges of the dough for a clean finish, then cut it into tagliatelle about 7–10 mm thick.
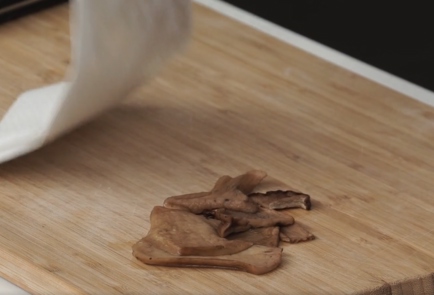
Step 15
Prepare the sauce while simultaneously bringing water to a boil for the pasta on another burner. Remove the mushrooms from the soaking water (reserve the water!) and pat them dry with a paper towel. Finely chop the mushrooms and add a little salt.
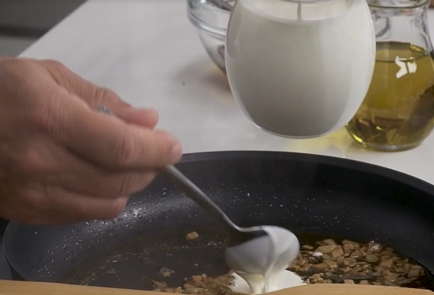
Step 16
Heat a skillet with 1 tablespoon of olive oil, lightly sauté the mushrooms, then add 4 tablespoons of the water they were soaked in. Pour in the cream, stir, and reduce until it reaches a sauce-like consistency.
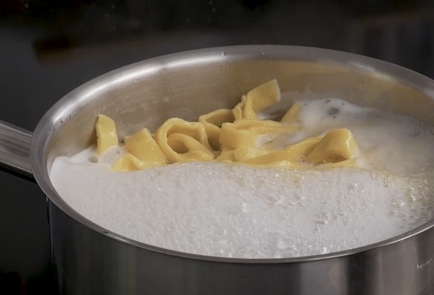
Step 17
Meanwhile, add the pasta to the boiling salted water, and as soon as it floats to the surface, use tongs to remove it from the water and add it to the pan with the sauce.
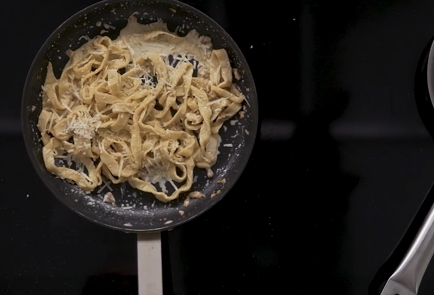
Step 18
Toss the pasta with the sauce and Parmesan, then remove from heat immediately.
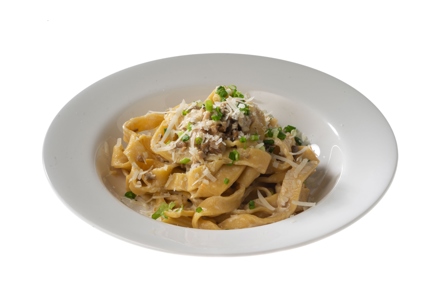
Step 19
Garnish the pasta with chopped green onions before serving.
Step 2
Soak the remaining white mushrooms in water until they are soft; both the broth and the mushrooms will be used in the filling. Since the dough needs to rest, it's best to store the soaked mushrooms in the refrigerator until the final preparation of the pasta.
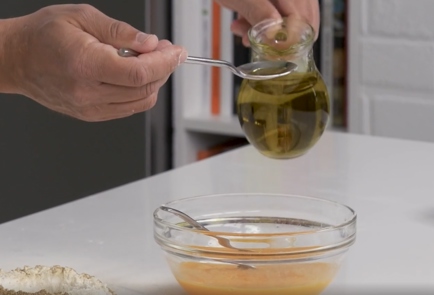
Step 3
In a bowl, whisk together the yolks and eggs with 10 ml of olive oil and salt.
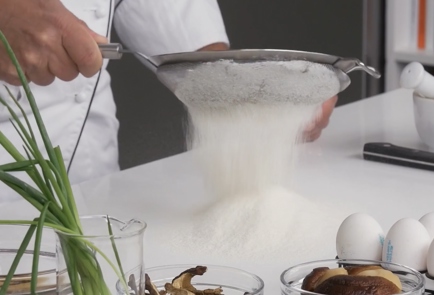
Step 4
Sift a mound of two types of flour together with powdered porcini mushrooms onto the table.

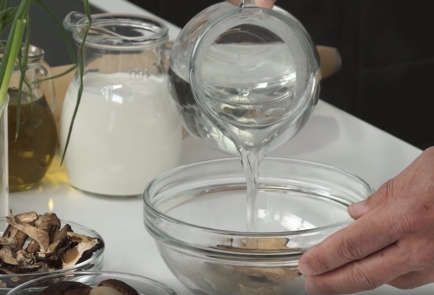
Step 5
Make a well in the center of the mound and pour in the egg mixture.
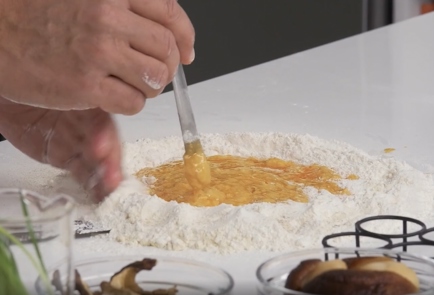
Step 6
Gradually fold the flour into the egg mixture from the center to the edges, using a chopstick or the handle of a fork to assist you.
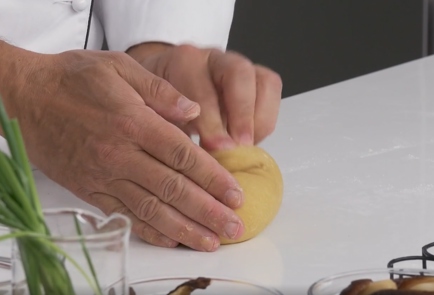
Step 7
Next, knead the dough by hand, gathering it from the edges to the center for 10 minutes until it is completely smooth. (You can use a stand mixer with a dough hook, but do not knead for too long to prevent the dough from becoming too tough).
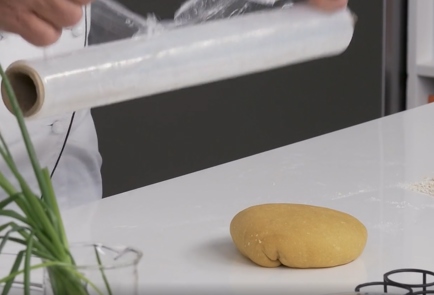
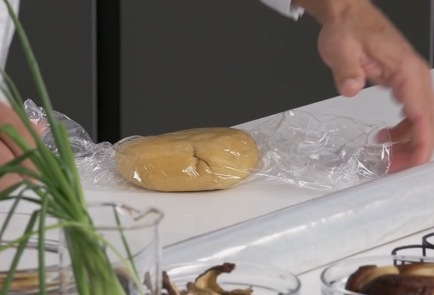
Step 8
Form the dough into a ball, wrap it in plastic wrap, and refrigerate for 2 hours.
Step 9
Remove the dough from the refrigerator, unwrap it, and let it warm up for about 10 minutes.
Cooked This Dish? Share Your Delicious Creation with the Community! 🥰
Snap a photo and let everyone see your culinary masterpiece. Inspire others and showcase your skills!
Users Photos
No photos yet
Leave a Comment
Please log in to leave a comment.