
School Pirozhki
Baking and Desserts | Russian cuisine
⏳ Time
30 minutes
🥕 Ingredients
8
🍽️ Servings
12
Description
You just need to spread a teaspoon of oil on the surface of the table — the dough won't stick to the table, but it won't be swimming in oil either. It is very important not to overheat the oil while frying. Since the filling contains raw meat, the average time sufficient for frying a pirozhok should be at least 4–5 minutes on each side. A small peculiarity of these pirozhki is that the meat filling releases juice, and sometimes the dough in the middle of the pirozhok may seem undercooked because of this. Pay close attention to the doneness of the filling. If the meat is well-cooked, then the dough has also had enough time to cook through, and it will absorb some moisture from the inside.
Ingredients
- Water - 1 glass
- Wheat Flour - 2½ glasses
- Dry yeast - 1 tablespoon
- Sugar - 1 tablespoon
- Salt - 1 tablespoon
- Vegetable Oil - 8 fl oz
- Onion - 5.3 oz
- Lean Beef - 14.1 oz
Step by Step guide
Step 1
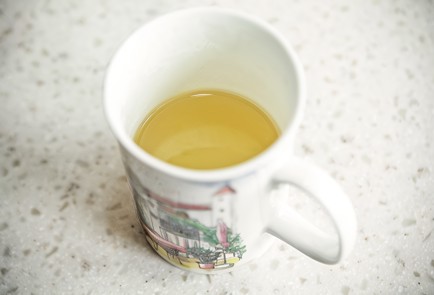
The dough needs some time to fully rise. So, start with that. Pour warm water into a deep bowl. The water temperature should be between 30–104°F. Add sugar.
Step 10
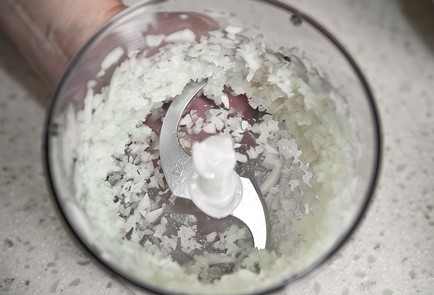
For the filling, peel the onion, place it in a blender bowl, and chop it.
Step 11
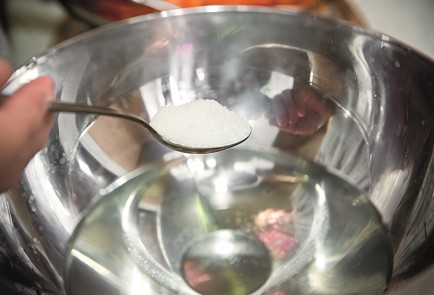
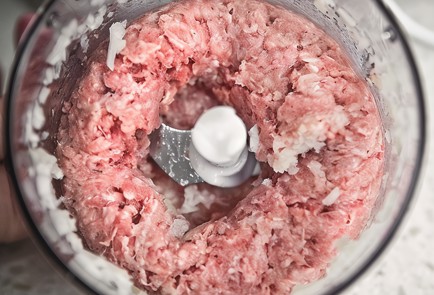
Add the ground meat to the onions along with half a teaspoon of salt. Blend thoroughly using an immersion blender. Divide the filling into 12 equal portions.
Step 12
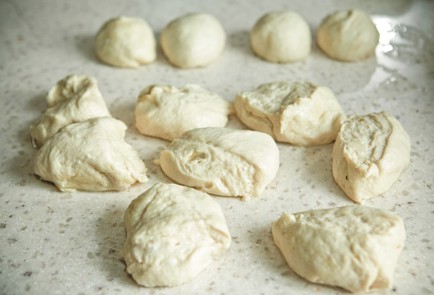
Place the risen dough on a lightly greased surface. Divide the dough into 12 equal portions.

Step 13
Roll each piece into a ball and let them rest for 10 minutes.
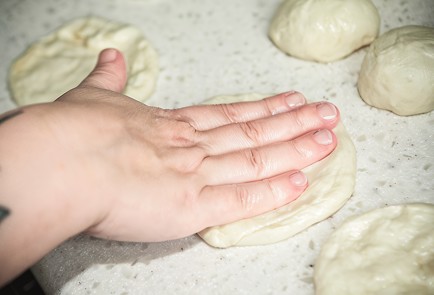
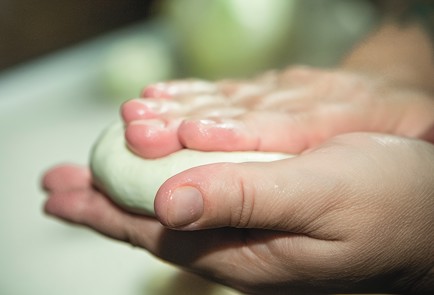
Step 14
Take a ball of dough and flatten it with your palm into a small disc.
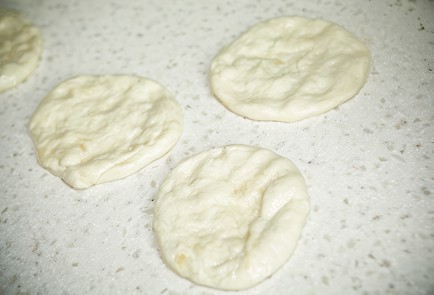
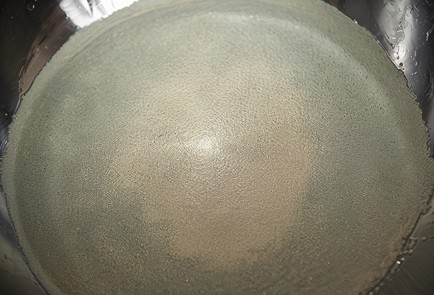
Step 15
Prepare 4 to 6 flatbreads accordingly, based on the number of meat pies you will be frying. Keep in mind that the dough will expand in size while frying. Place a frying pan over medium heat and pour in the oil. The oil should be at least 1 cm deep. Once the oil is heated (about 2–3 minutes), reduce the heat to just below medium.
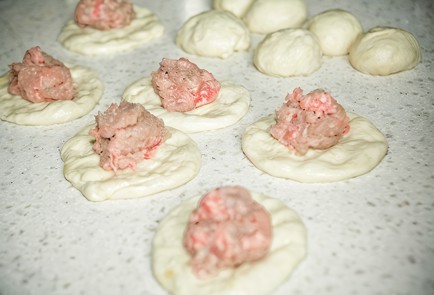
Step 16
Place a portion of the filling in the center of each dough round.
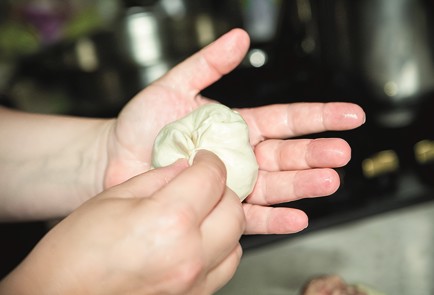
Step 17
Take the dough piece in your hand. Gather the edges towards the center and pinch them together.
Step 18
Flatten the resulting pastry.
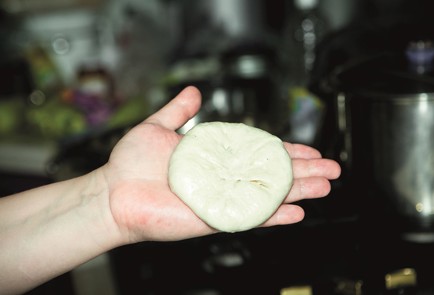
Step 19
It should be round and flat — no more than 1.5 cm thick.
Step 2
Add the yeast. Gently stir the yeast and sugar into the water. The yeast needs some time to transition from a dormant state to an active one.
Step 20
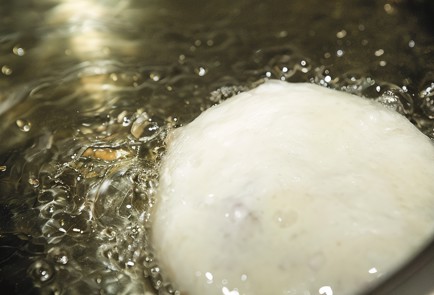
Place the pastries in the skillet with the sealed side facing down.
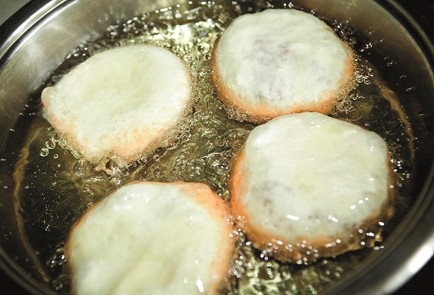
Step 21
Fry the stuffed buns first on one side...
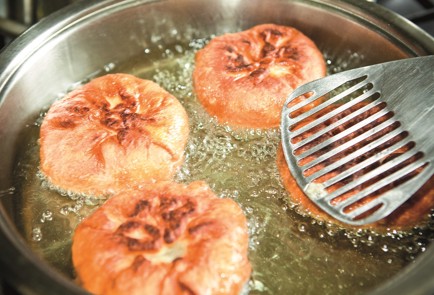
Step 22
...then flip them over and cook for about the same amount of time on the other side. Remove the finished pirozhki from the oil using a slotted spoon. First, place them on a paper towel to absorb the excess oil. Then transfer them to a plate and serve hot.
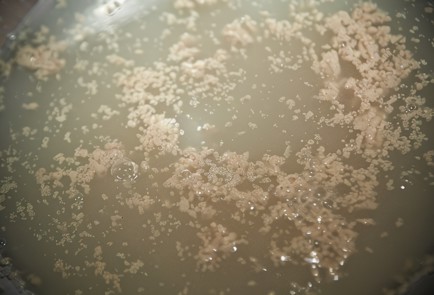
Step 3
You will notice that the yeast growth process has started within just 10 minutes: either a foam will form on the surface of the water, or the water itself will be filled with bubbles, like carbonated water.
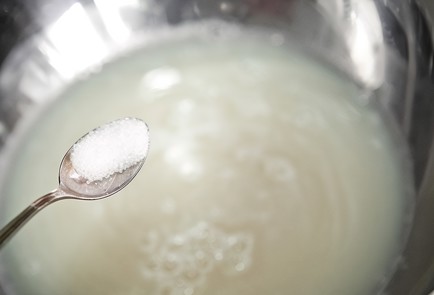
Step 4
Only then add salt to the water (half a teaspoon). Stir the salt well into the water.
Step 5
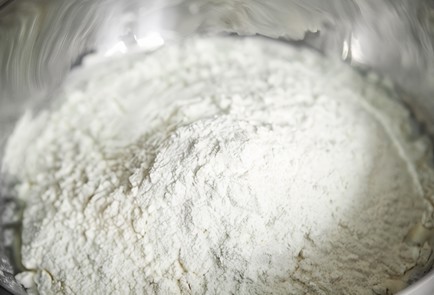
Add the flour. Always measure the water and flour using the same cup or measuring container. The proportions are important here.
Step 6
Prepare a third of a cup of vegetable oil for the dough.
Step 7
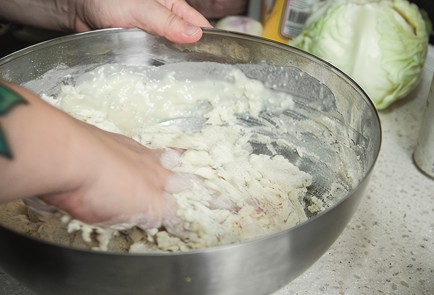
Mix the flour with water gently.
Step 8
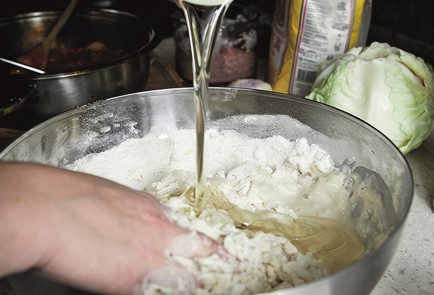
Then pour in the measured vegetable oil. It's important to avoid direct contact between the oil and the yeast.
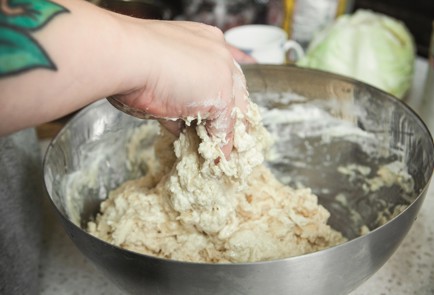
Step 9
Knead the dough. It should pull away from the sides of the bowl and absorb all the flour. At this stage, there is no need to knead it until smooth. Set the dough aside for 20 minutes. During this time, the gluten will swell. Then you will be able to knead the dough easily and quickly until it reaches a uniform consistency. Cover the dough with a towel or plastic wrap (to prevent the surface from drying out) and let it rest for 30 minutes. After half an hour, punch down the dough right in the bowl. Then let it rise for another half hour.
Cooked This Dish? Share Your Delicious Creation with the Community! 🥰
Snap a photo and let everyone see your culinary masterpiece. Inspire others and showcase your skills!
Users Photos
No photos yet
Leave a Comment
Please log in to leave a comment.